Introduction to Linocut Printmaking
In this workshop, you will be introduced to linocut printmaking.
We will:
Choose a design for your first print
Learn about the tools, safety, and carving techniques
Prepare your linoleum for carving by drawing your design on it and then using a color wash
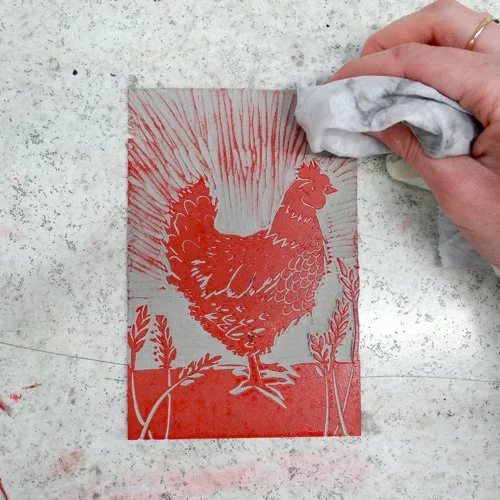
Carve it
Print it!
This is a lot to do in one class, and it will be easier to achieve if you do two things to prepare:
Review and sign this safety form
Narrow down options for your first design
Tips on choosing your first design
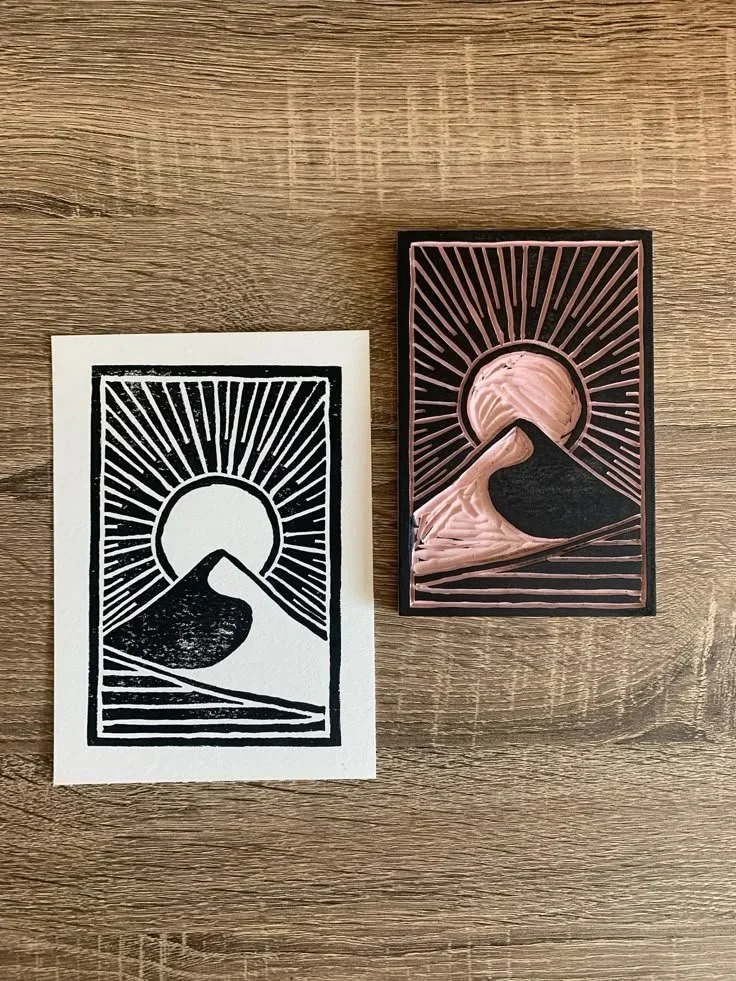
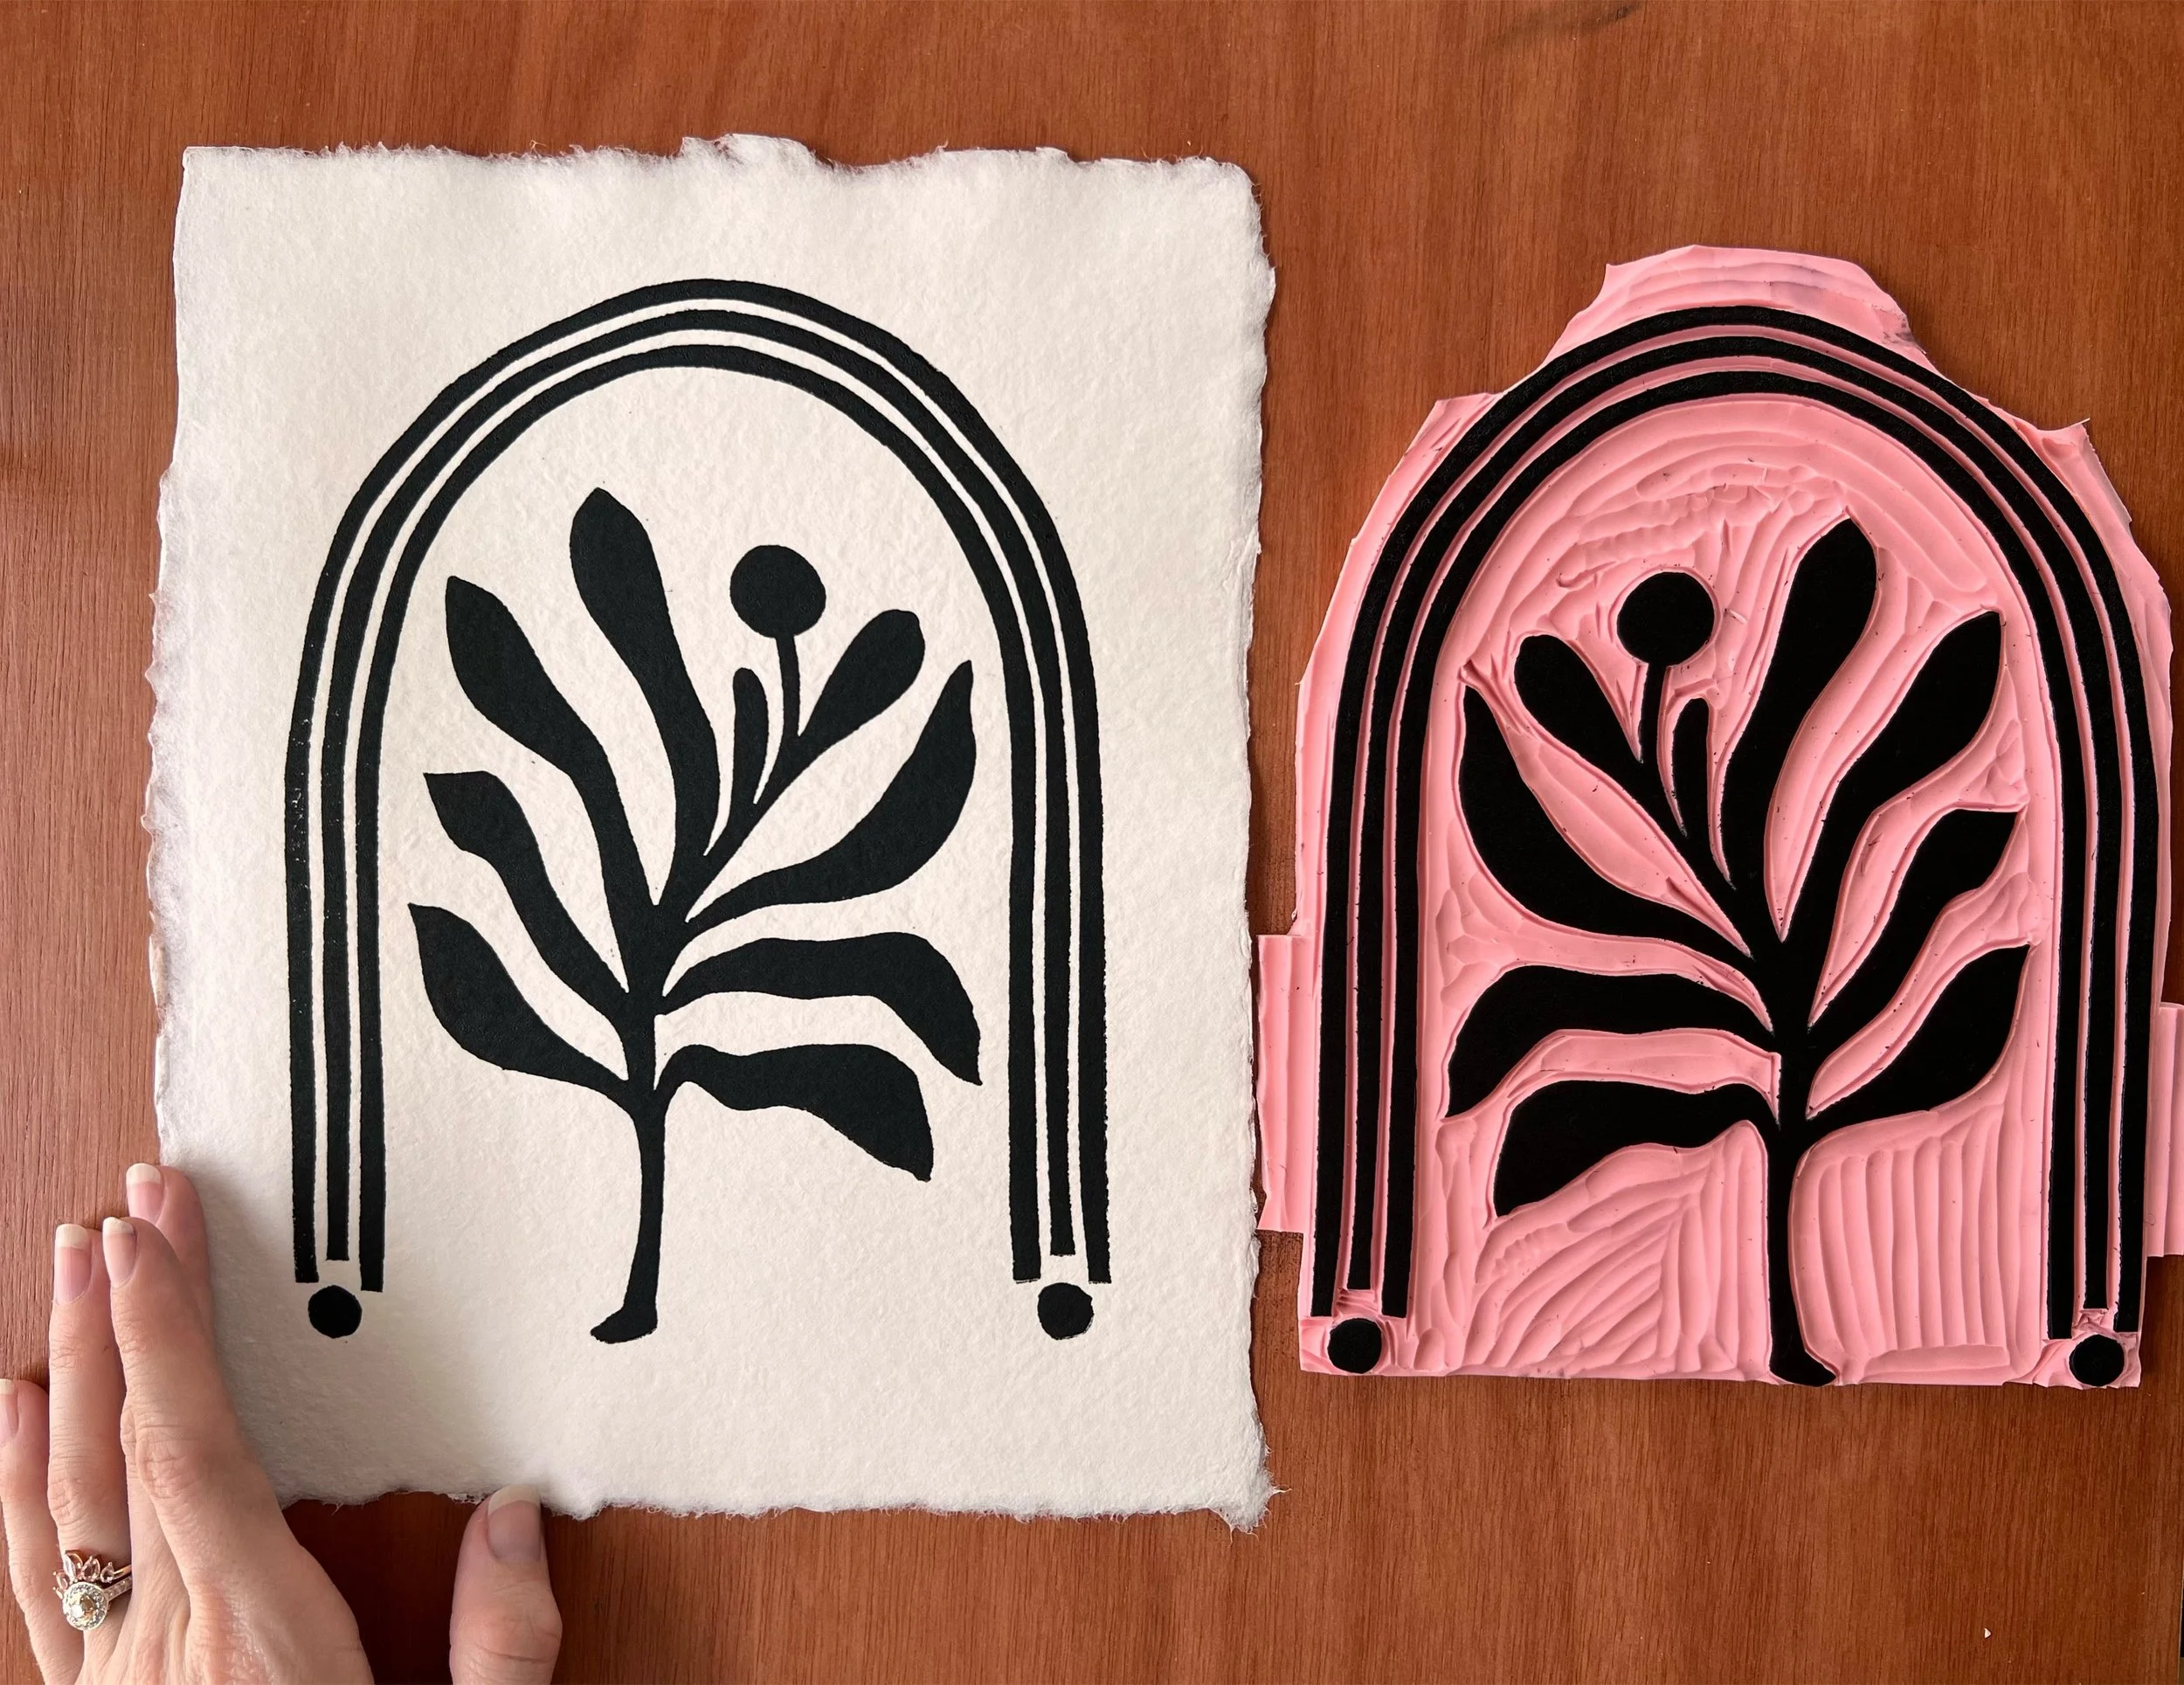
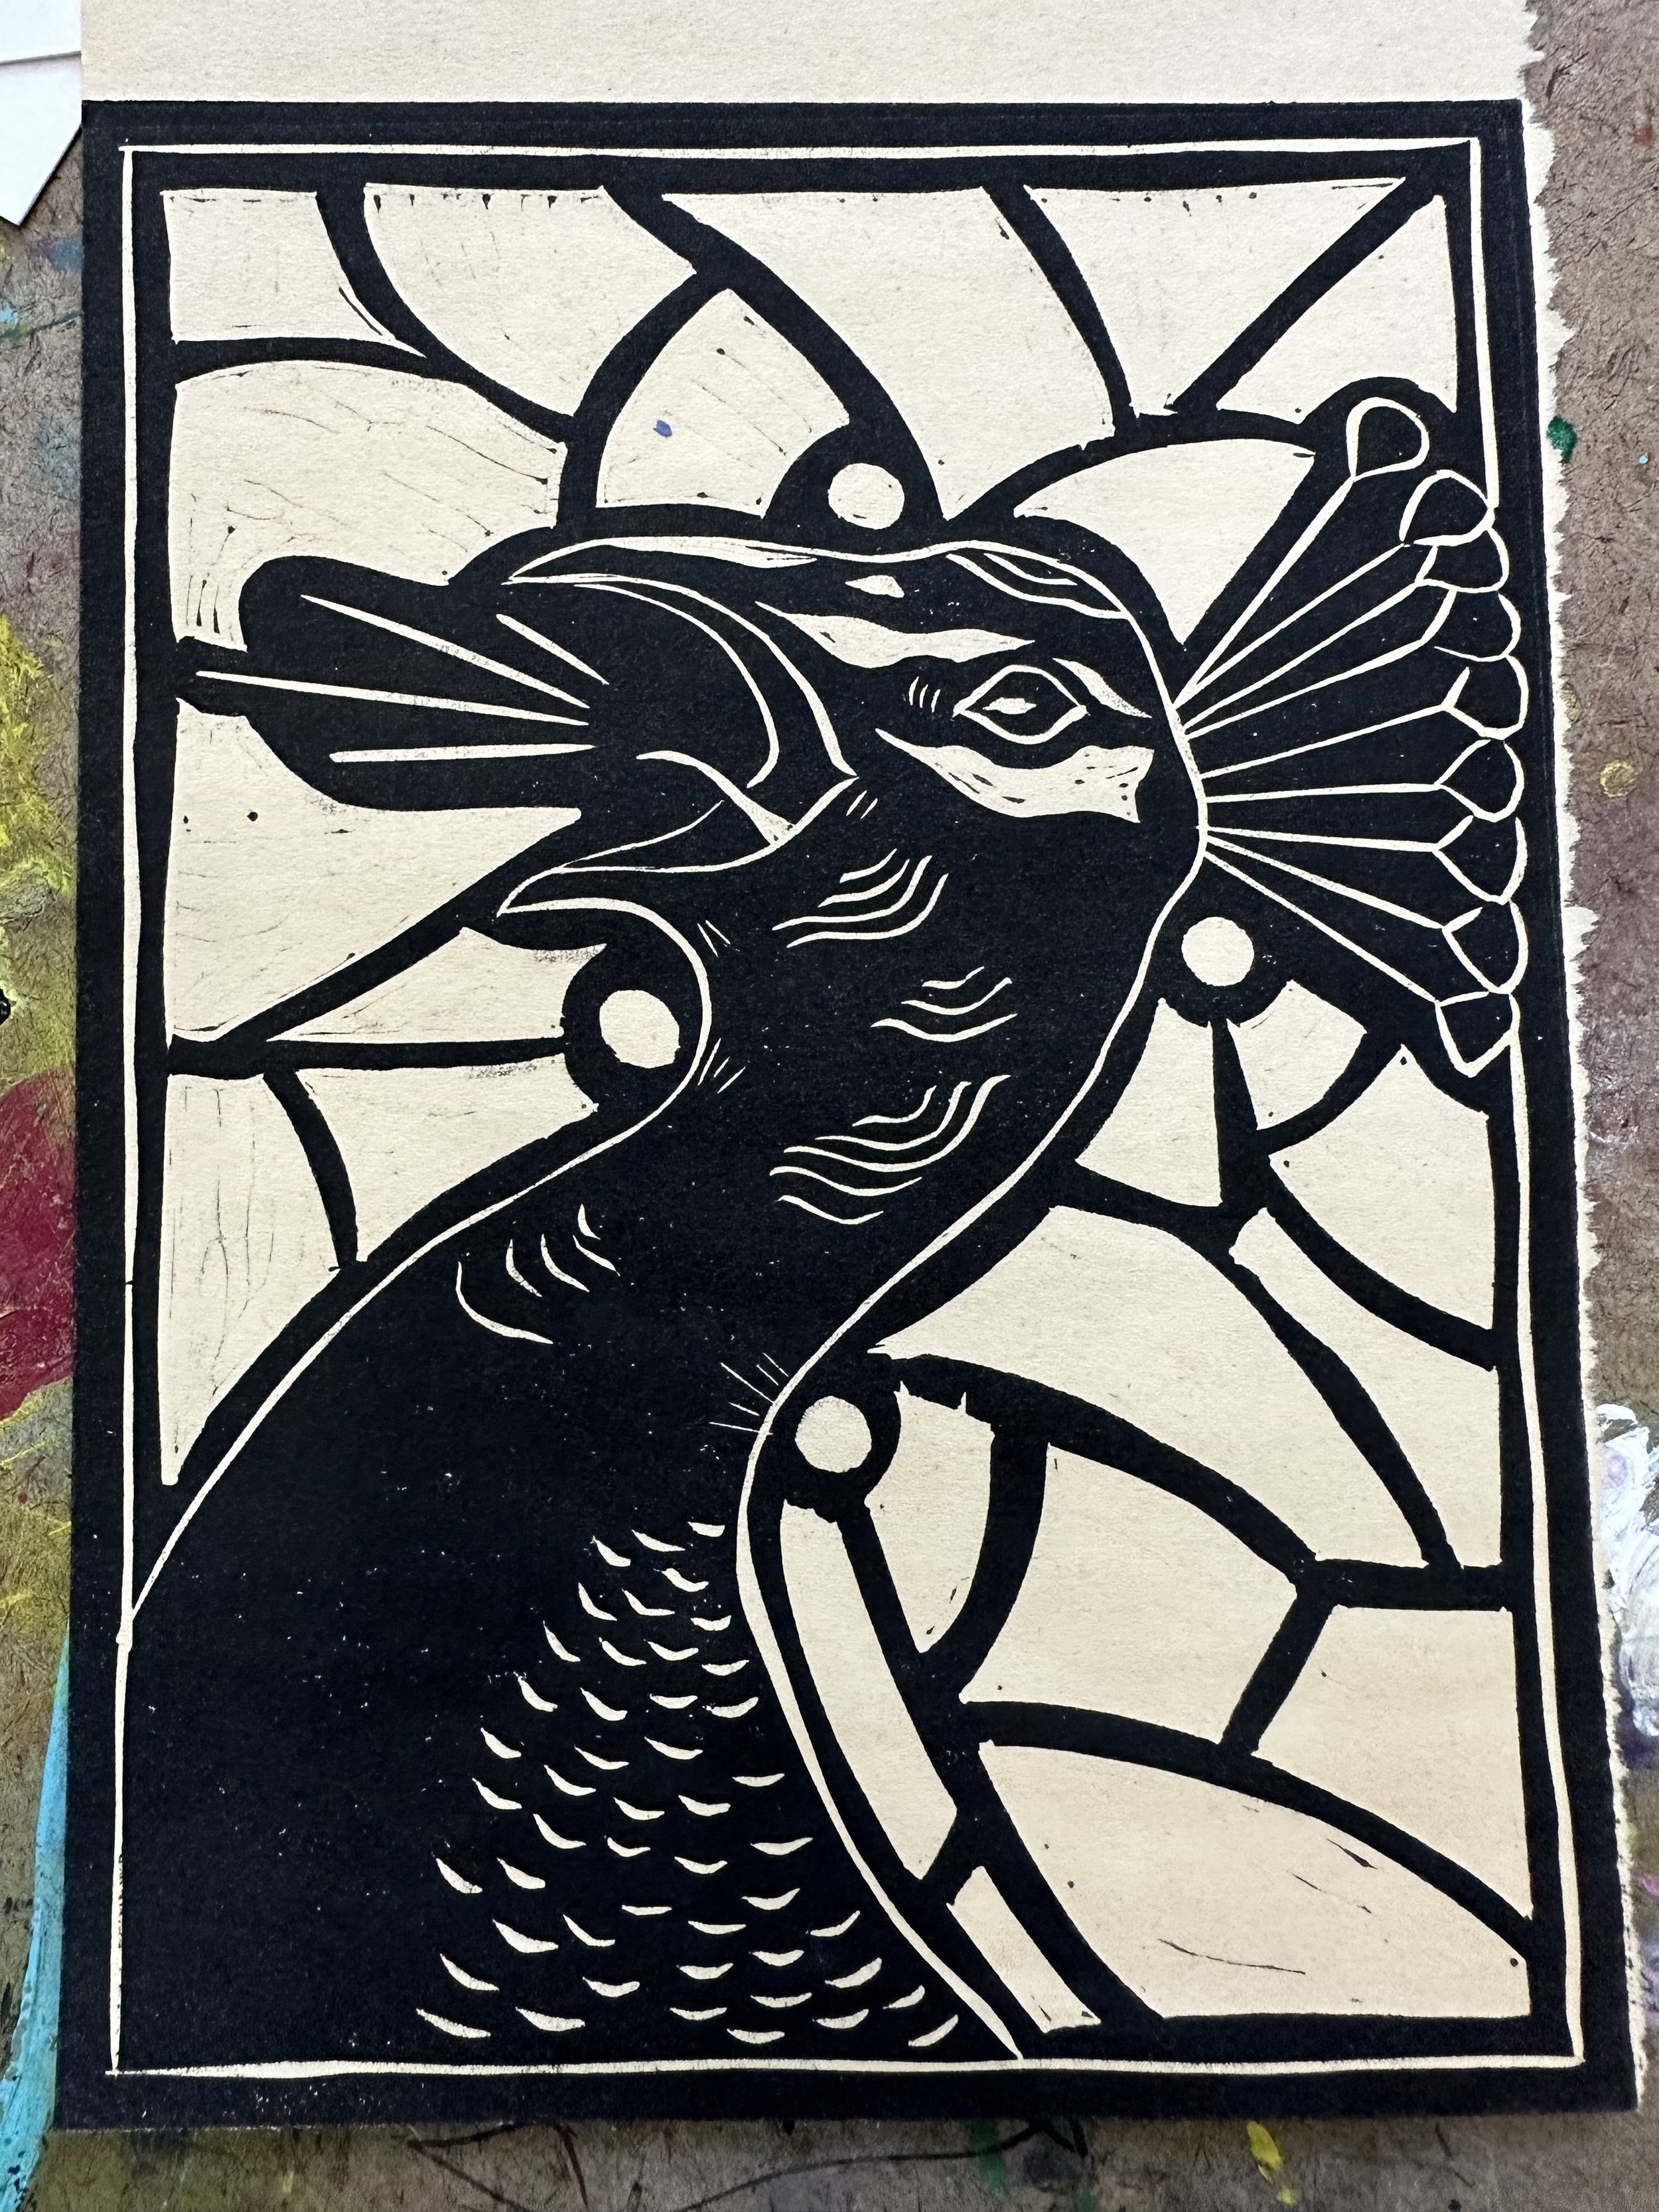
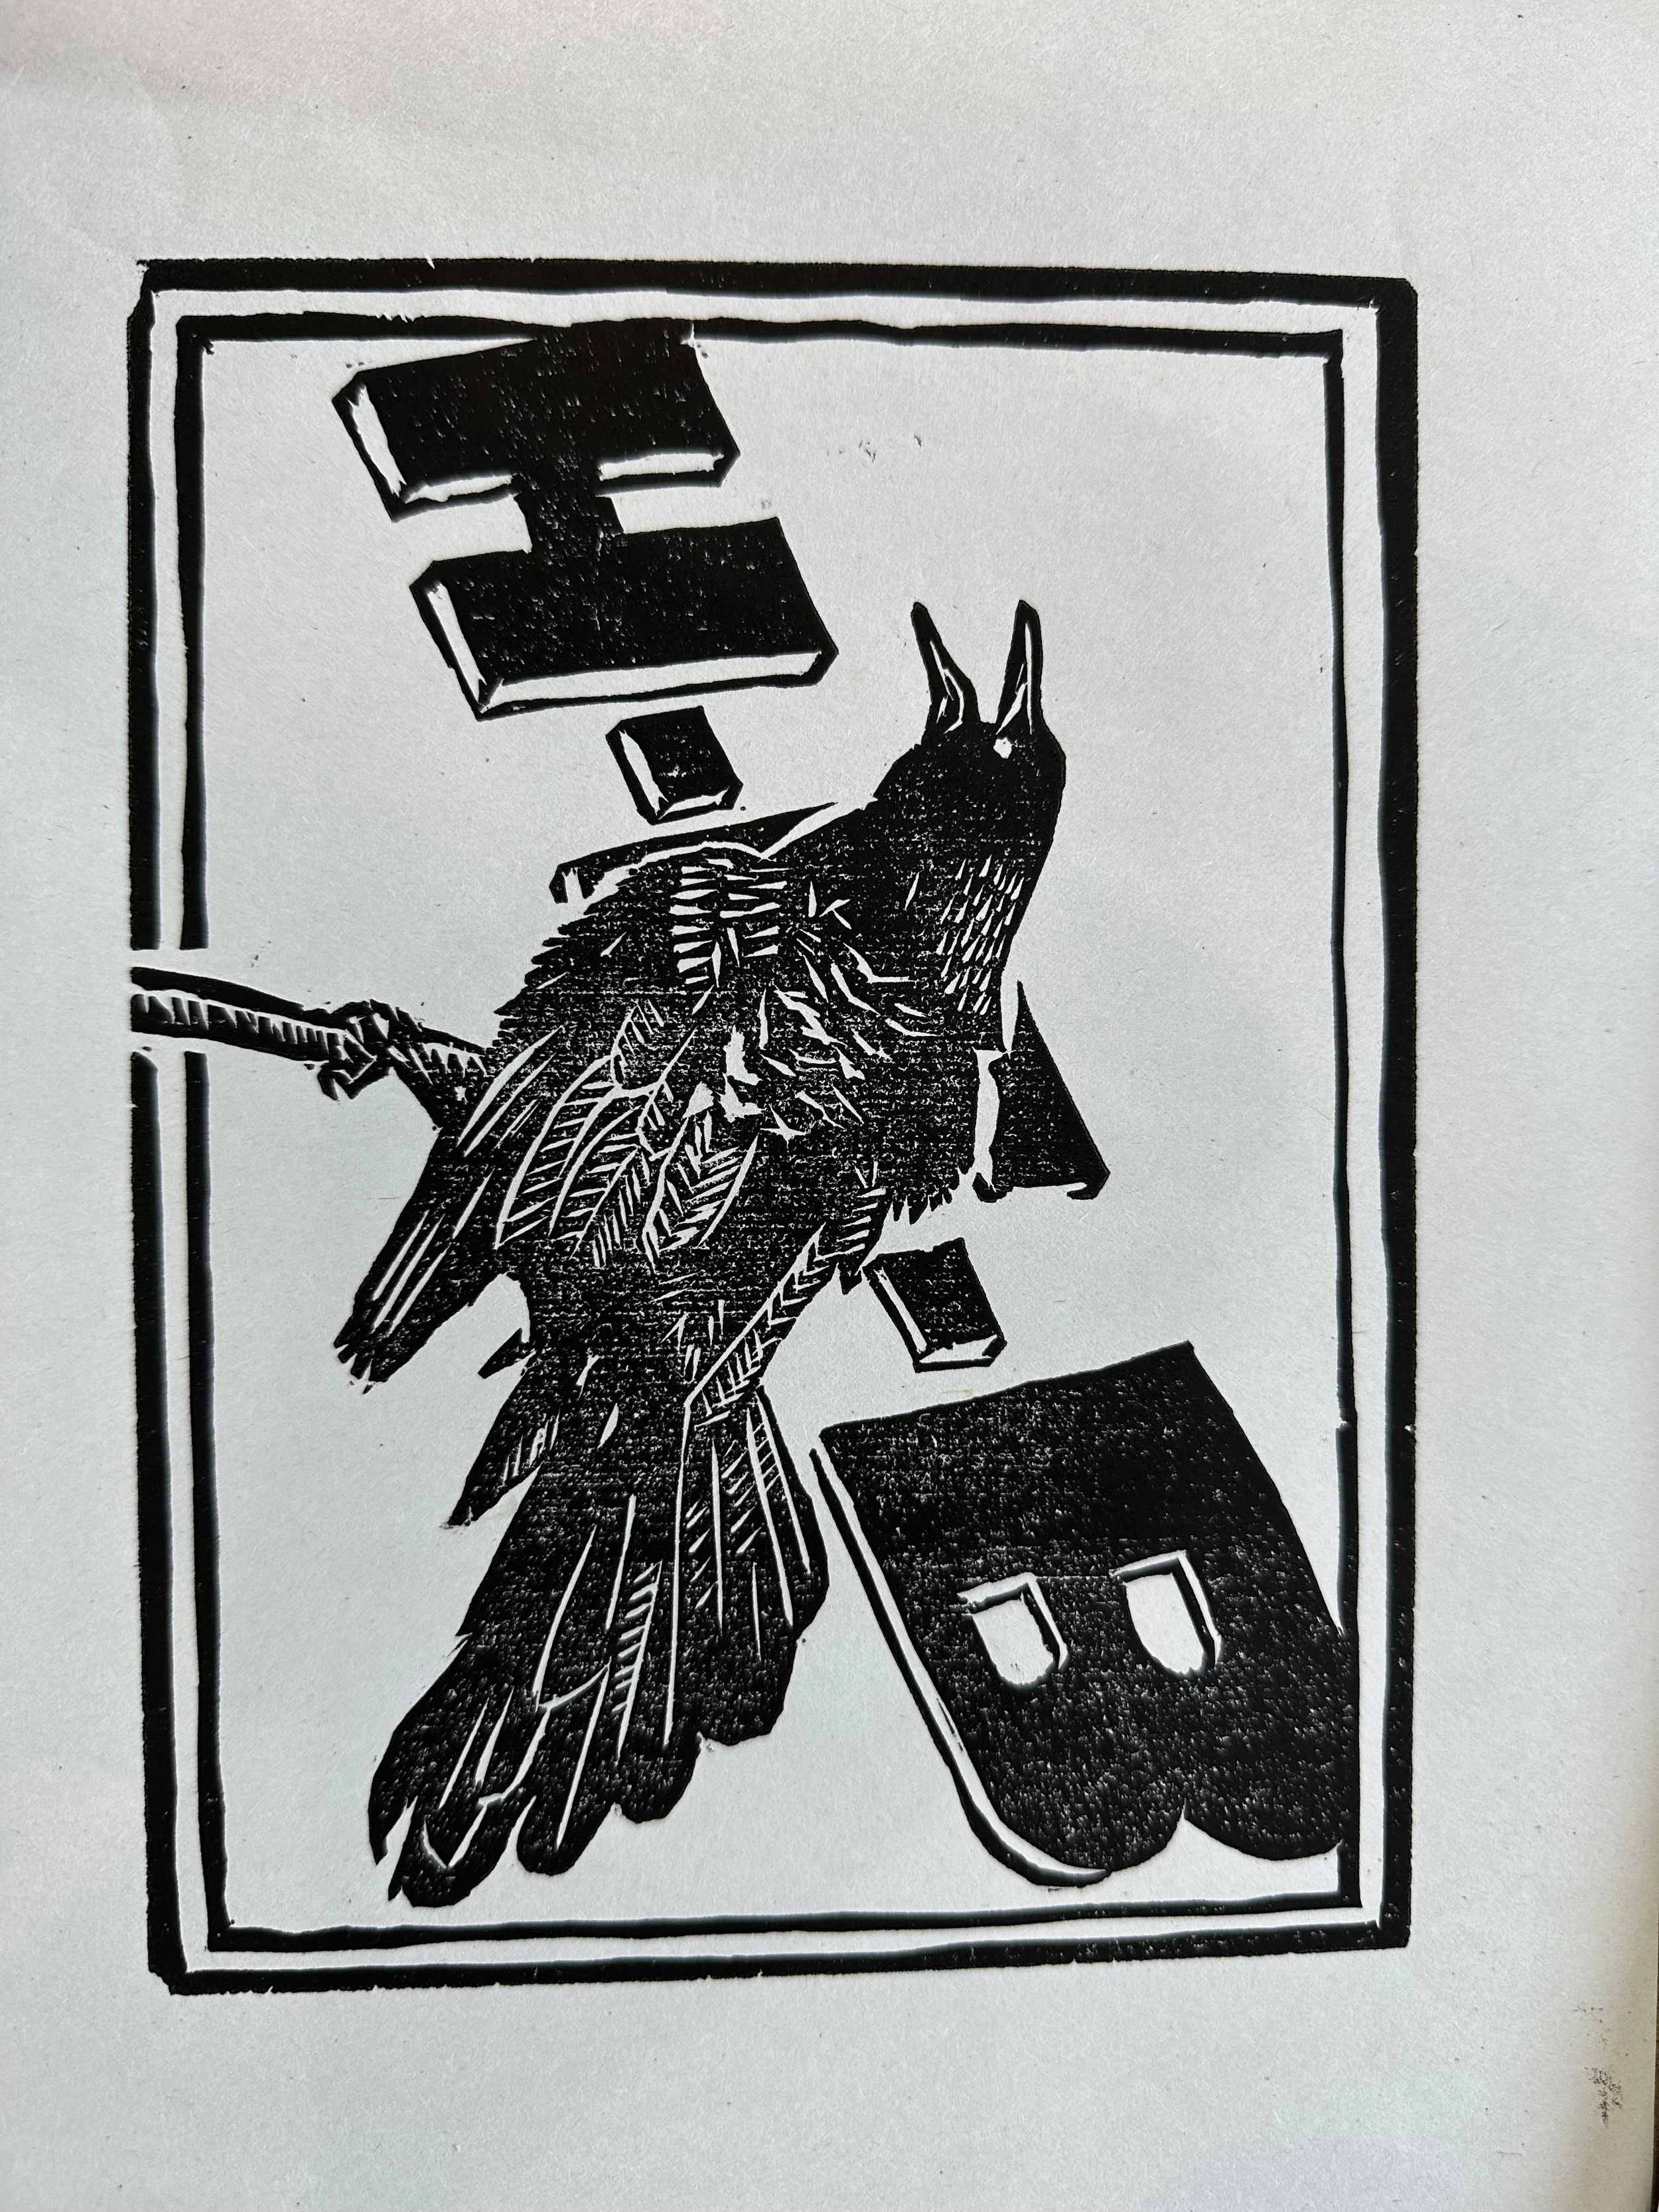
Your print will only have two colors, black and white. No gray. A good way to start thinking about this is to Google “Simple linocut print”
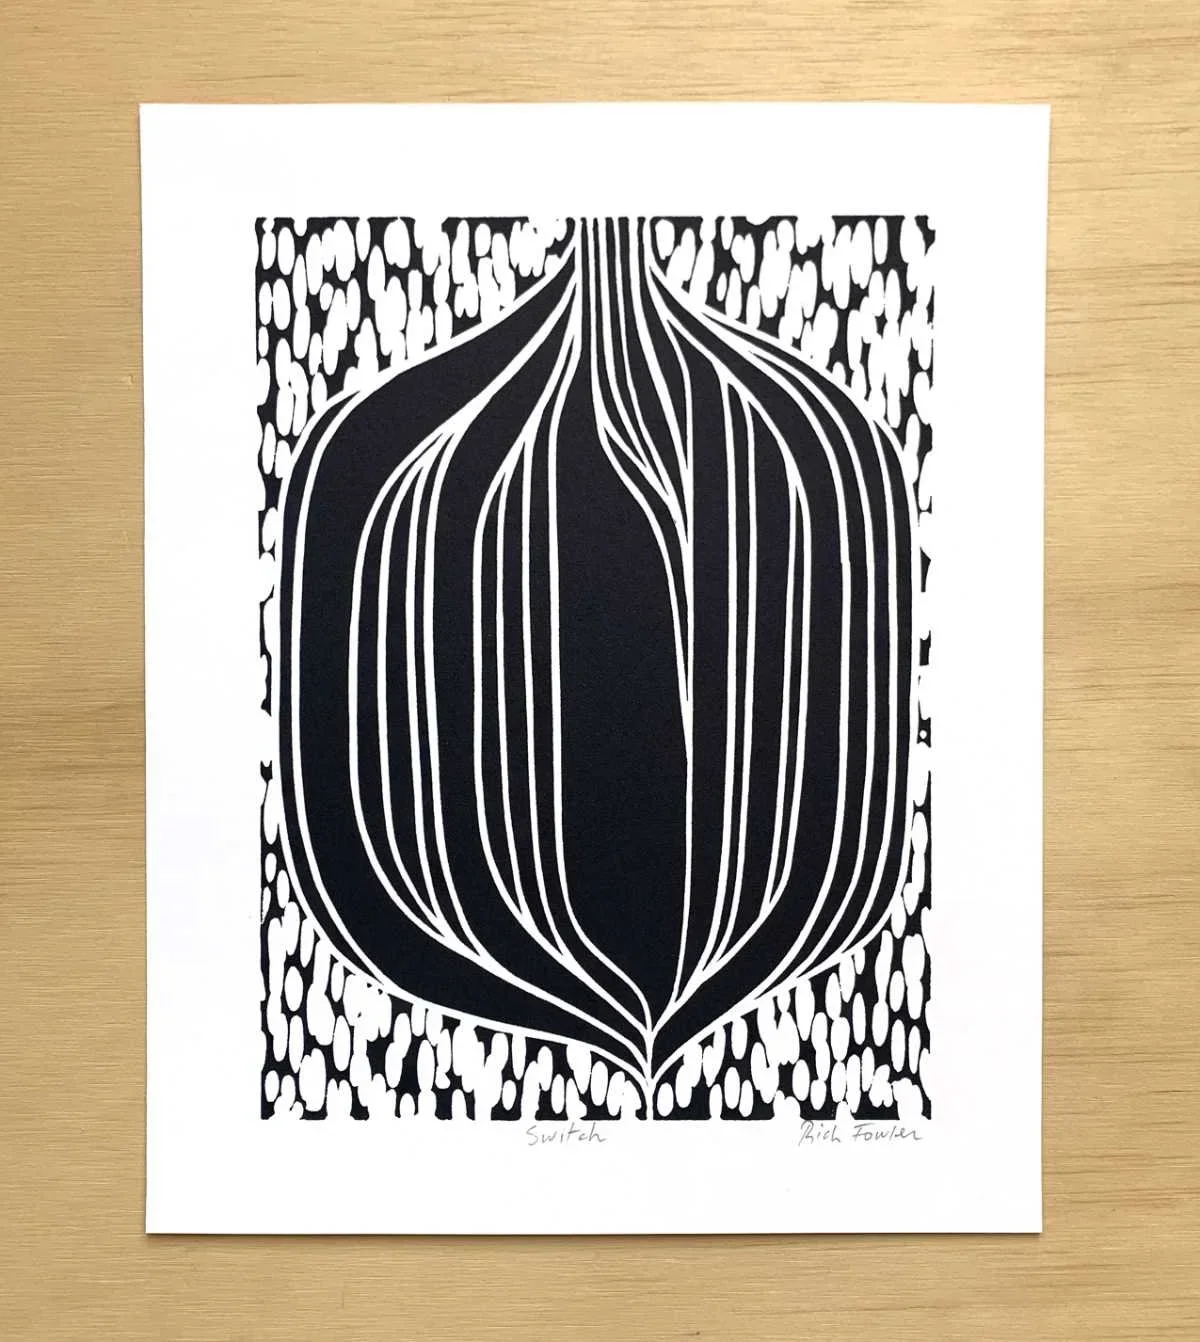
You may notice that the prints that look best have an equal amount of black and white. They aren’t just black with some white lines or white with some black lines.
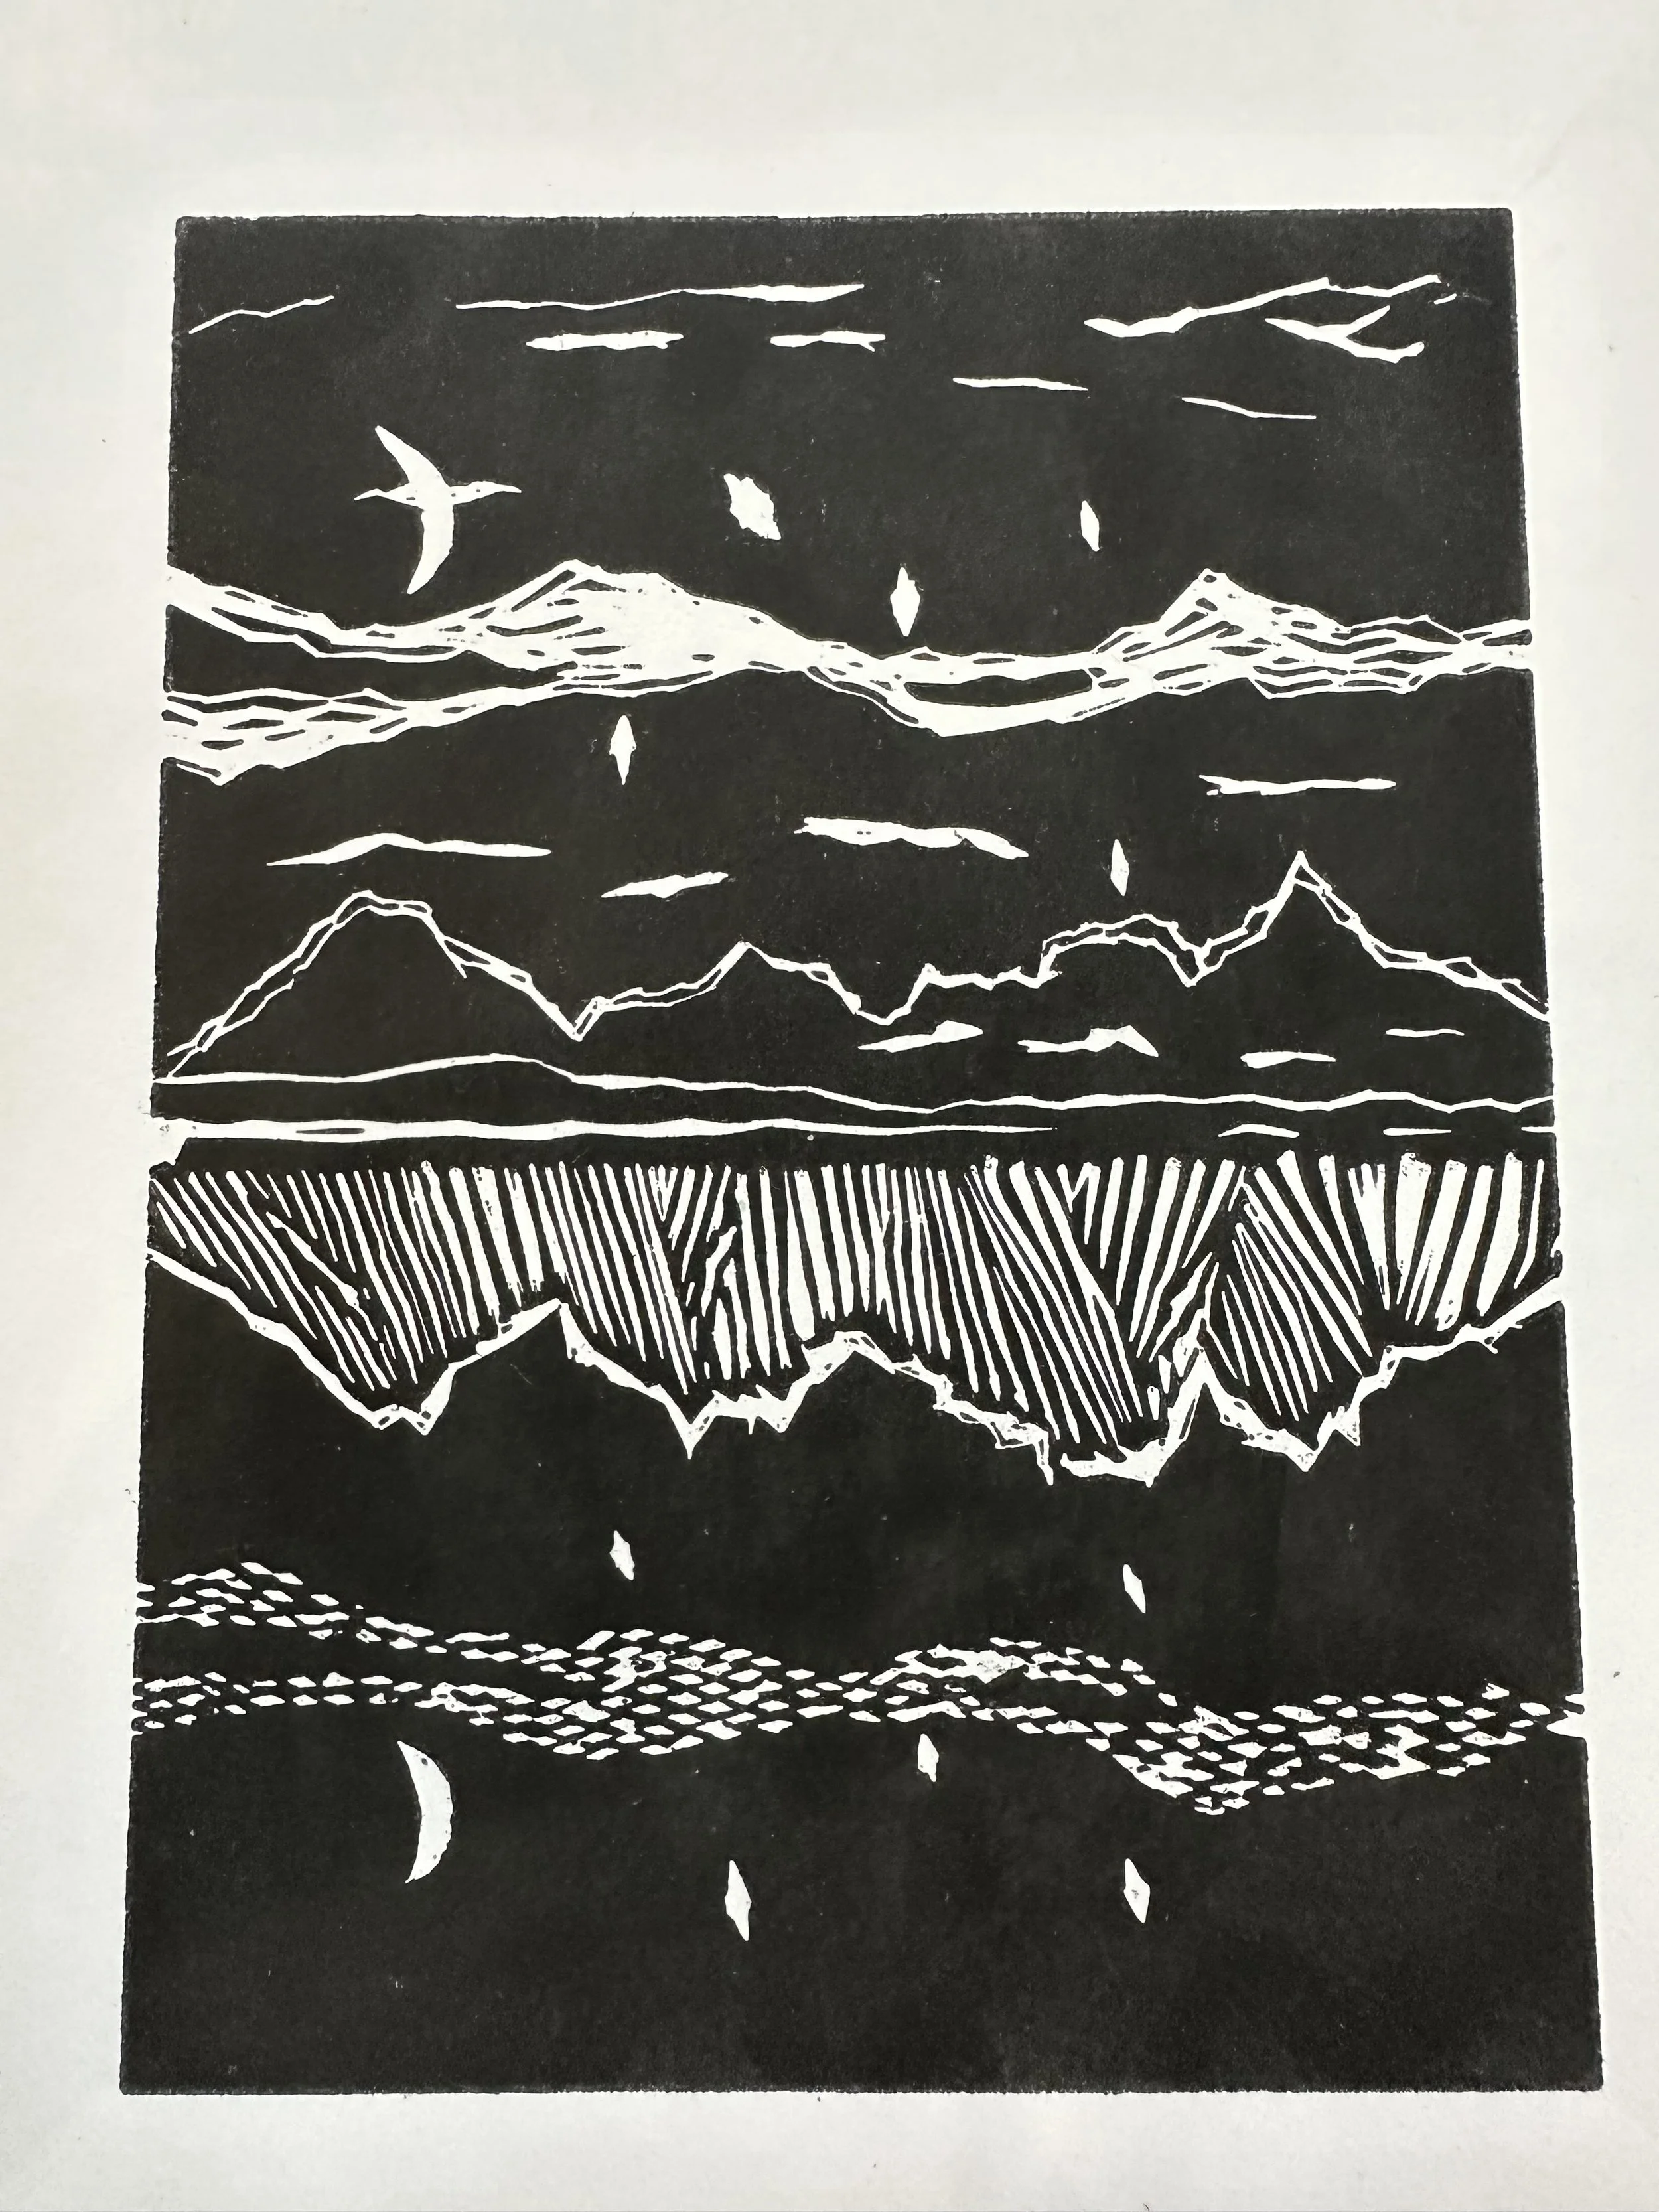
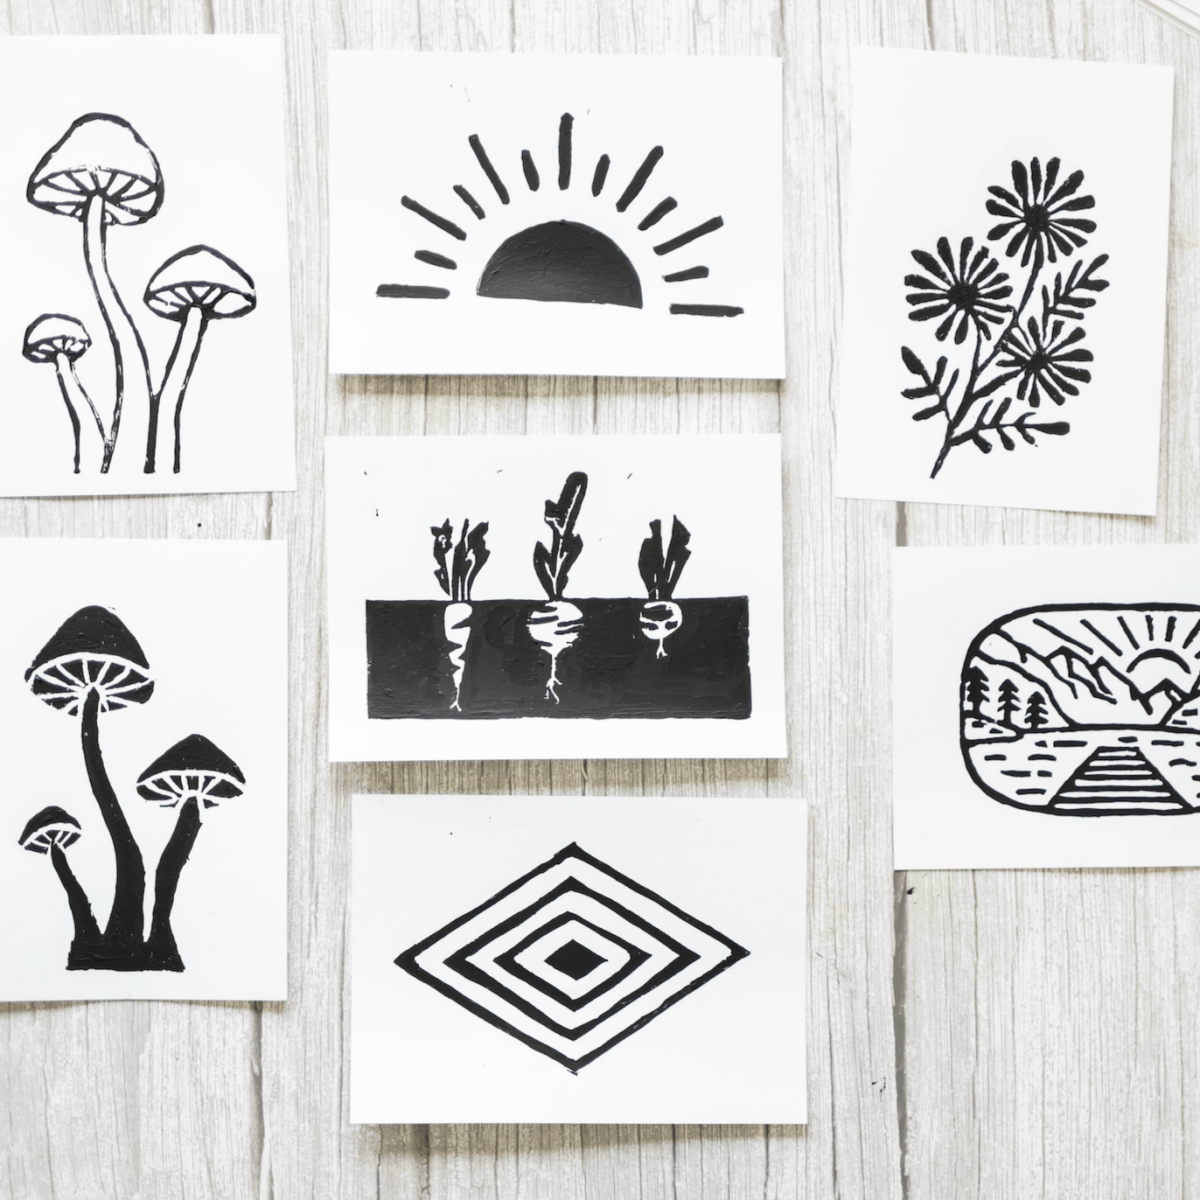
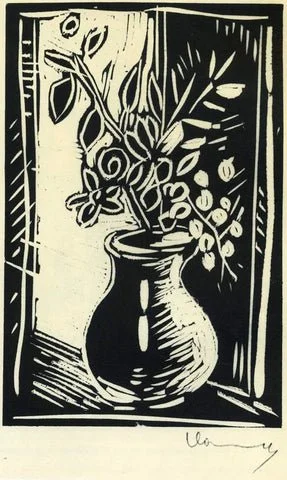
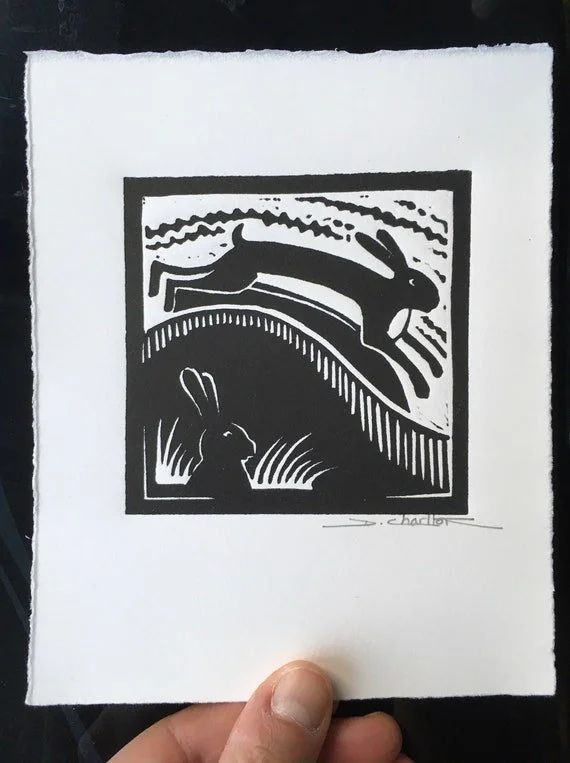
Picking a subject without a ton of really small detail or a lot of lines that need to be straight is smart. Animals and plants are more forgiving than detailed architecture.
Once you have decided on a subject you like, such as a fox, Google “fox linocut print” and see what other people have done.
Now think about how to simplify! You’ll be working on a 4“ x 6“ piece.
Starting with someone else’s design is fine – it will become yours as you go through the process.
It doesn’t have to be perfect, it just has to be a learning experience! The second one can be perfect ha ha.
Ideas